Here is another of the soon to be released images from Sugar Nellie. This is a MAry Hall Stamp and will be able at Funky Kits soon.
 This Little chappie really looks like he has enjoyed the snow.
 The papers I have used for these two projects are from Making Memories.
The stars were punched using the Stampin' Up Star Punch and some Stampin' Up buttons were added.
 An then a simple sentiment layered up and added.
 Here is another Card I made. I think I went a bit over board with the snow flakes and dewdrops.
 The sentiment is a new Stamp Set from Stampin' Up Promotion at the Mo. Spend £45 or more and you can choose from 4 sets.


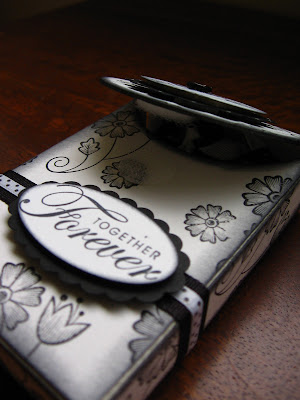


 The mini book was created using my Bind It All, lots of ribbon and
  Here is a new design by Mary Hall, soon to be available from Funky Kits.


 6. Lay the piece of paper out flat then gently push the sides in and this should happen. The centre should resemble a duck's mouth.


 12. This is what my finished book looked like, 5 stuck together.


 18. Once you have created the back of the book you can stick it down.
 19. Trim the flap to about 3cm.
 20. You now have the book bound with a front flap.
 21. You can use any kind of fastening, ribbon is a good holder. However as a bonus I have created a fancier fastener. I have see these around for ages so thought I'd have a go and put it on one of my mini books.


 26. I began to tie a knot in some thread, but before completing the knot I put it around the back of the brad, and finished the knot.
 28. Attach the fastener without the thread but wrap one end of the thread around it the flatten out the back, sounds odd I know but it will make sense soon.

 31. Close the cover and wrap the thread around the opposite fastener, it needed to be loose to be able to be wrapped around.

